
Help Center
HyperV Virtual Machine Creation
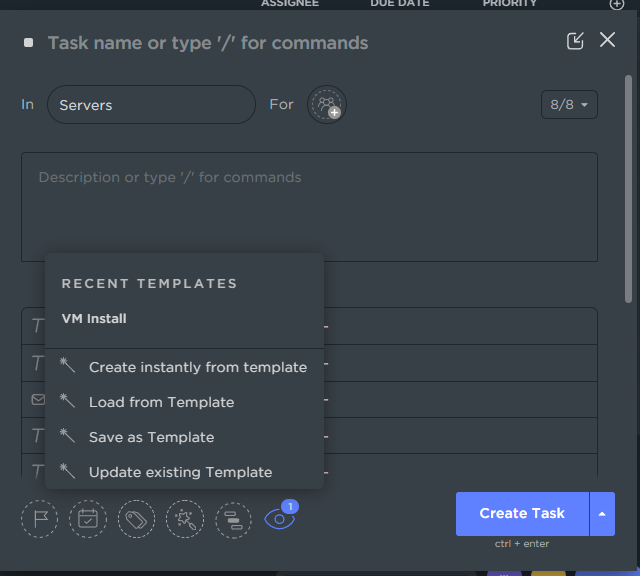
This article covers only the Hyper-V portion of creating a Virtual Machine. The entire process is described in a ClickUp template called ‘VM Install’, in the Servers List. It populates a checklist of all that needs to be done for installing a VM.
Creating the Virtual Machine
- Click button to create new VM ‘New’, choose VM

- Give a name the VM using the naming convention (Cosmos-<User>)
- Choose Generation 2
- Change VM location to a volume with plenty of free space.
- For the Virtual Hard disks
- Leave the name as is
- Edit storage location to one of the large remote storage containers (typically, FastStorage, or cosmos-X depending on the host machine)
- Assign the max size you want it to be. Default is ~500G+
- Assign specified amount of memory, or set it to dynamic. Default is ~10G
- For connection, choose ‘External’ from the drop down
- Choose the option for ‘Install an operating system from a bootable image file’.
- You can then pick from one of the local images, or any ISOs found here: \\144.167.34.241\PC-Backups\AAASoftware. If the latter, make sure to copy to a local folder first as you may encounter permission issues if trying to boot from a shared network file.
- Create
- Once the VM is created, right click on the VM and go to Settings
- On this page, configure the Number of CPU cores (typically 4-8) and any other settings needed
- Navigate to Network Adapter > Advanced Features and switch the MAC from dynamic to static. Record the MAC address in the Networking Reservations sheet. (It is recommended to do this after starting the VM once so the MAC matches others instead of starting at 00-00-00-00).
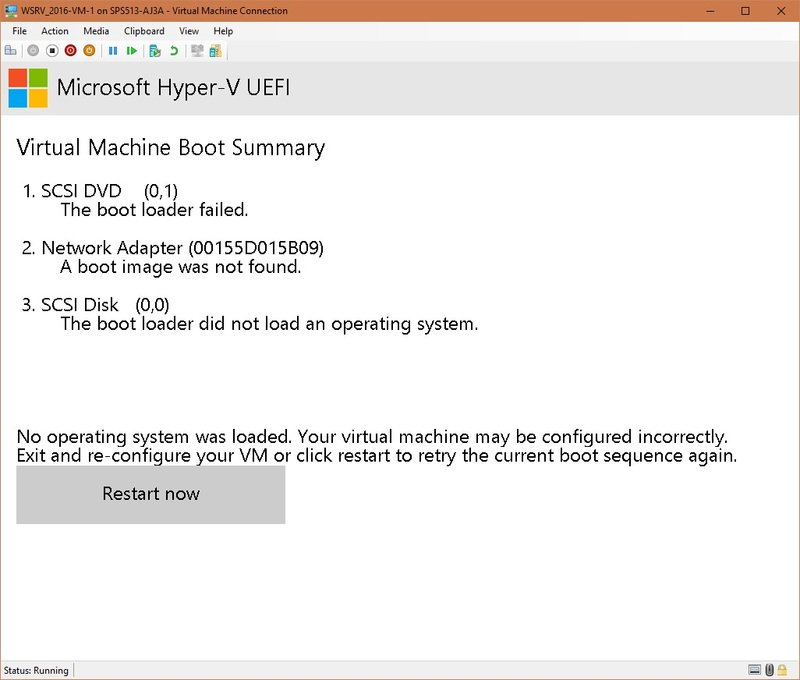
- Do not start the machine – first connect and then start, then immediately hit a key. This ensures that the VM boots from its virtual CD drive and installs an OS. Otherwise, you will the error screen below. Described in detail in this bug report
Notes
Ubuntu Installation
- Follow instructions above
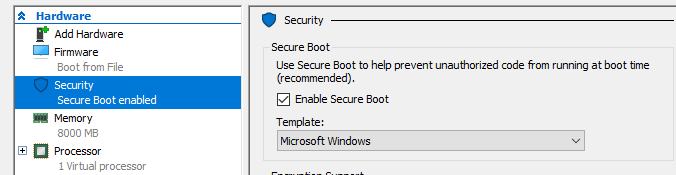
- Turn off secure boot. If you don’t do this it won’t start (VM needs to be off).
- Connect to VM through Hyper V and start
- Follow the instructions for setting up Ubuntu
- Make sure to follow the COSMOS VM naming convention
- Make sure you REQUIRE password at login (don’t use auto login)
- Once you have finished the setup, install any updates and restart the VM as necessary.
RDP on Linux
If you are using Linux desktop OS, we can setup RDP
- Run ‘sudo apt install xrdp’
- Start the service using ‘sudo systemctl start xrdp’
- Now you can connect to the VM using RDP and it’s IP address
- To find the IP address, use ‘ip a’
Nested Virtualization
Some VMs will need nested virtualization to run VMs themselves. This is needed to install and run Docker, for example. To enable this:
- Turn off VM
- Run ‘Set-VMProcessor -VMName ‘<NAME OF THE VM>‘ -ExposeVirtualizationExtensions $True’
- Turn VM back on.
More information here.